Yesterday I ordered 1,860 4×6 photos and 40 5×7 photos. Oh my god! I still have six quarters to work my way through: the current one, last two of 2007, and three of 2006. Those six are going to have even more photos than the tiny amount of digital photos I took from 2003-early 2006. It is so funny looking back through them all, it goes film, digital pre-blog, digital blog with Bj’s camera/my point and shoot, digital blog with my D50 (2006 and on). Let’s just say I really up-ed my game. I’ve stopped sorting for now because I thought that all my photos for 2003 and 2004 were film, I didn’t realize I had some digital photos I took with Bj’s so now I have to re-organize some of the binders I’ve done already. Anyway I did file away the first quarter of 2007 (that was my test to see the quality of Shutterfly). I brought that over to grandpa today to visit. We looked through it and I yelled out the descriptions of everything (get a hearing aid PLEASE!). At the end of the binder he looked and me and said, "you sure do take pictures of everything, don’t you?" Yes, I do. 🙂 Including this loveliness: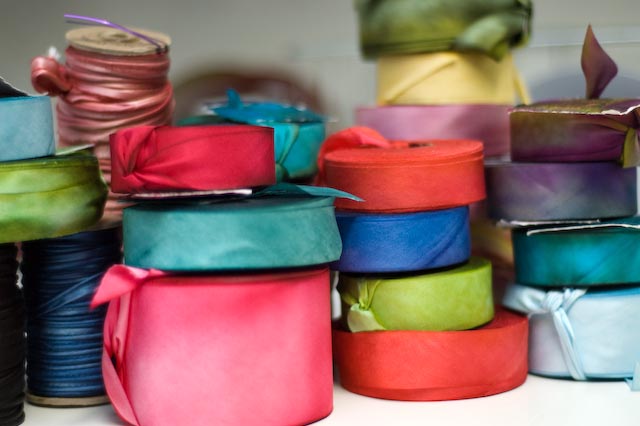
Some Hanah Silk I just got for Ribbon Jar. Lord, I have never wanted to eat my ribbon so badly. Seriously this stuff is delisios. And no, I can’t link to it… yet. I have a huge backlog of new wonderful ribbons to add to my store. See it turns out that I have no problem ordering them, but getting them up on the site… AHHHHHHHHHHHH I hate it. I really do, it’s my least favorite Ribbon Jar thing. Oh that and answering email questions like, "I don’t understand your site, do you sell by the yard?" It’s listed as price per yard, so this question always gets me. Anyway I have about two hundred new ribbons to add. They are all so great. I have a bunch of new suppliers. I had to start finding some more local (American) mills because the dollar is so low. It’s worked out great because I get to carry hand-dyed beauties like these now. I have been updating my new page, so check it out. I also added a few new categories and re-organized things a bit under shop ribbon. For now I’ll leave you with one more picture: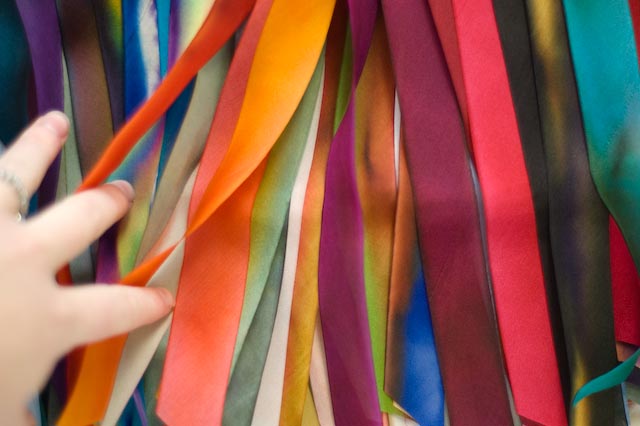
The sample cards, all stacked up. Me running my hands through them. It was that or rubbing them against my face. So soft. Expect to see me wearing a silk flower pin like everyday of the week soon.
The what I’ve been up to post
This was sort of a long weekend for me. On Thursday evening my mom and I spent the night in Portland after doing a drop off at the airport. It was so much fun to hang out with my mom. We ate Jelly Bellys in bed, and gabbed mostly. On Friday we did a little bit of shopping and had lunch with my grandma, aunt, my mom’s mother in law, and Kat and her mom. So fun.
I’m trying to take more pictures with my mom, and other people that I see like ever day or week, but don’t seem to have nearly enough pictures of. I don’t know why that is, but my new picture filing/organizing system is sure pointing it out to me!
On Saturday I headed down to Corvallis to meet with an old friend, Erin. Her and I took a lot of the same classes in high school, including what I think was called "new mixed media". In that class we did batik, shibori, and other fabric dying techniques. Erin has been wanting to get back into dying fabric, and I was game, so we set up at a friend of hers.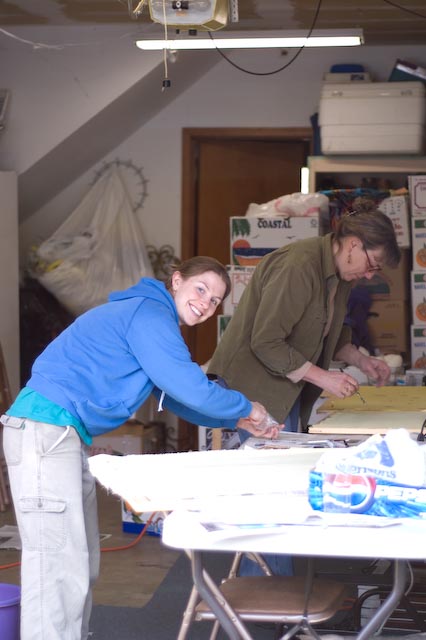
Basically you dye fabric:
Rinse out the dye, dry it, and then layer on an application of wax over that. Anything you’ve covered with wax will stay that color the next time you dye.
Here you see Erin putting on the wax with one of the traditional tools. That fabric is actually a light yellow, so if she dyes it say, blue next time the rings will be light yellow, and the background will be a little bit green from the yellow. Well that’s how it’s supposed to work in theory. In reality it can be a little hard to get it all coordinated, and then do the proper amount of waiting (hmm maybe that’s only hard for me!). The step after all the dying and waxing is the hardest: getting the damn wax out. I tried the boiling method and ended up with a scuzzy wax covered piece. I have another to do so I’ll use the iron method I learned in high school: putting the piece between two layers of newsprint and ironing the wax out. I hope this makes the fabric soft enough to use for some kind of sewing project. We’ll see.
I meant to get to that yesterday, but got stuck in the sorting/editing/uploading my pictures loop I’ve been in for a week. I have THOUSANDS of digital photos to go through. Luckily I only have six more quarters to do. I sort out my favorites from each quarter (and at the same time actually delete some of the terrible ones), then edit those and upload them to Shutterfly. It makes our internet so slow, so I’m trying to do it all on weekends and evenings when I don’t need to use the internet to work. I also ordered more photo albums, I’ll have a picture soon of my progress, I’m quite proud of it, actually. Although the 2,000+ pictures I have left to print is going to cost me a pretty penny. Yikes!
Oh good time for a few questions. I got these nifty label holders from See Jane Work a few years ago, and now I can’t find them anywhere, any one know where to get them?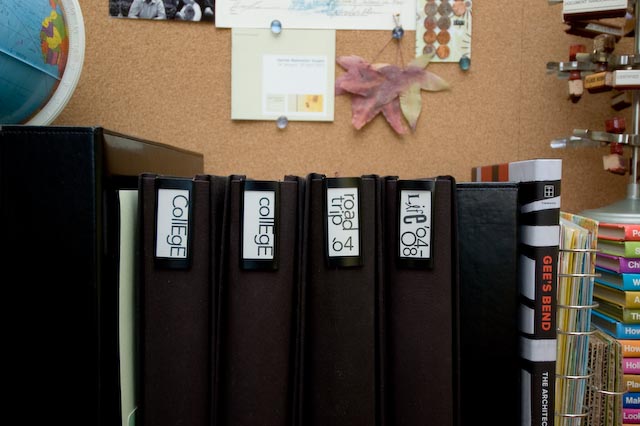
Second question, any one used the cloth D-ring American Crafts albums? I want to pick up a bunch for my new library of memories system, but have never seen them in person. I know the modern kind are really popular, but I don’t think that will mesh with what I have, I want to just get black to go with all my other albums. Would the label holders even fit on the spine (they hang down about 2 1/4" on the inside – but the wires are on the edges, not down the middle)? And if you are in the valley does anyone actually sell these around here. This is the best deal I found (but would still have to pay shipping). Thanks ladies!
The Big Picture
So I said it before, but I’m taking a Big Picture Scrapbooking class, Stacy’s Library of Memories. It’s more of an organizing class than an actual scrapbooking class, but you have to organize your photos to scrapbook (I’m realizing). So it’s brought me face to face with my digital photo mess. Not really a mess, but just more the overwhelming amount. I’ve decided to organize as Stacy says, with favorites folders by quarter. 
I have only two quarter’s done so far. If you want to see how her class works, and don’t want to wait until her next class (next year) I really recommend her new book: Photo Freedom. So good. Anyway as part of this process I’m going through and printing these quarterly photos. It’s adding up to a lot of photos, as you can see. My first order should be coming from Shutterfly in a few days. My storage binder/albums will be here tomorrow and then I can get to sorting. It’s exciting really going through all the pictures, and the layouts: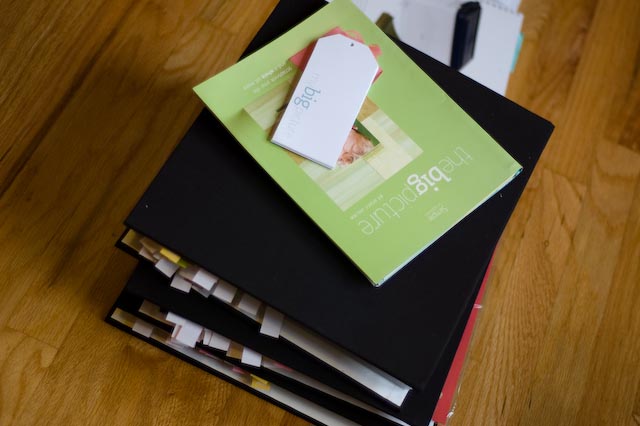
Here I’ve flagged what type of layouts I’ve made. My least common? "People I love", how crazy is that. Even crazier? Despite all my travels my "place I go" category was a close second. I think that is because I do a lot of separate albums for those layouts though. My least used of the who, what, why, when, where was where, so the layout that combines both of my least was people/where. I made up this one of Emilie tonight to start filling that gap: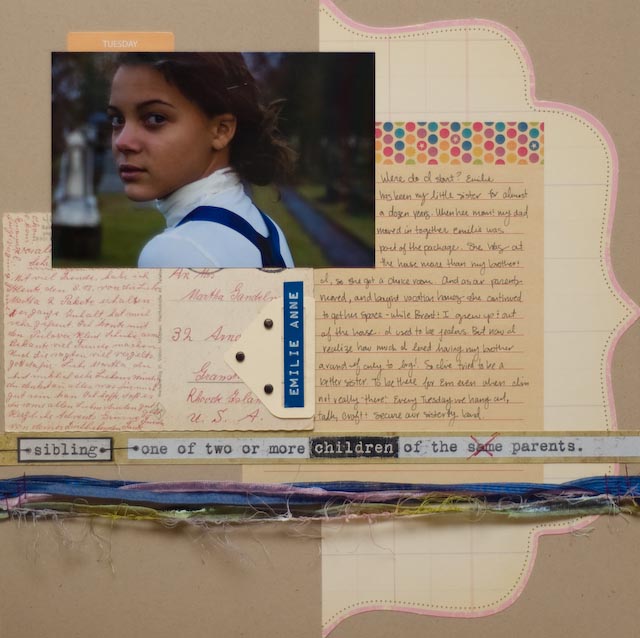
I’m excited to go through the photos I get back. Just looking at them again on my computer has made me want to scrapbook more, and I’m thinking that holding them and filing them will bring up even more memories I want to capture. Added plus? Using long forgotten scrapbooking supplies like fibers and pebbles stickers and random Japanese stationary.
Our 88 year old kid
Grandpa turned 88 yesterday. So he put on his flat fronted khaki’s and came down to the special dining room to party! 
Can I get an awe?!?!
This is grandpa’s "I’m trying to look mean but not succeeding face." I think it’s so funny. He is in a lot of pain ("I want a goddamn new butt!") but managed to hang out with us for almost an hour and a half. That’s a lot of sitting (he spends most of the day laying). Kathy said, "you’ll feel better on your next birthday!" To which he replied, "ya when they throw dirt in my face." Geez grandpa, it cracked up the whole table though. And I know he’s’ just doing it for laughs as he wants to be cremated anyway, so there won’t be any dirt, LOL. We (well Bj and Kathy) cooked him dinner. Fish, crispy mashed potatoes (like fried mash potatoes), and green beans. His number one complaint (except his butt, of course) is the food, so we thought this would be a good present.
Grandpa blew out all his candles in one breath. Not eighty eight of them, but a bunch in the shape of an eighty eight. The cake was insane by the way. 
That’s, count them, 15 layers! She whips these up in like an hour and a half, but I guess that makes sense, as a cake that thin can’t take long to cook. Now I don’t eat brownies, chocolate cake, chocolate ice cream, or chocolate frosting (barf-o-rama) so Kathy made me my own little dessert.
Damn, the thing was over half frosting (and a divinity frosting at that), with sparkles!! Mmmmm. She made me two. I ate the second for breakfast this morning, oops! Grandpa opened his presents after dessert and I looked over to see him doing this.
I was like, what the heck?
What a goof.
Love ya grandpa!
12 Hour Baby Surprise Jacket
I knew I had a baby shower to go to today, but I had so many other projects on my plate that I hadn’t started any kind of gift by Thursday evening. Then I panicked a bit I knew I wanted to knit something, and I have all those great vintage mags now, but decided I could get a baby surprise jacket done in a day. So I cast on and did a few rows Thursday night, and then worked Friday morning. So at 3:45pm I had this:
I used Socks That Rock Medium Weight. I loved it. I was afraid it would pool a few times, so I broke the yarn in a couple places and re-started.
She loved it!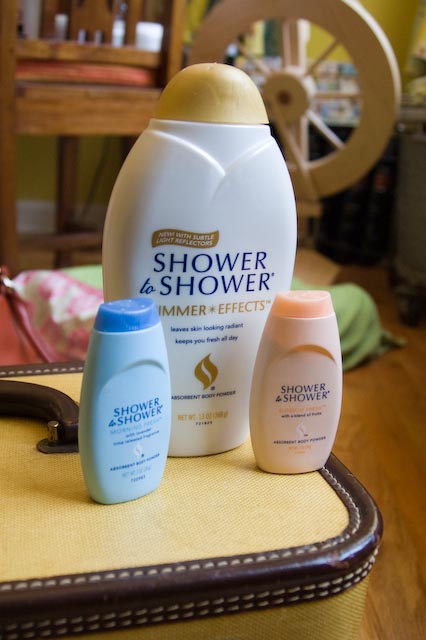
My cousin Tia. She look so gorgeous and happy.
Feeling the little baby kick. 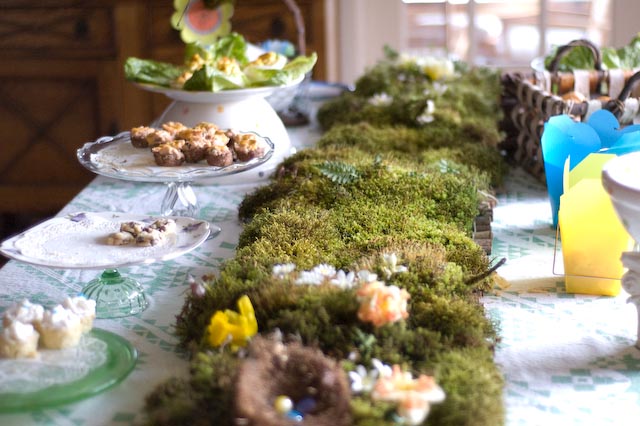
I love the table runner my aunt made… with moss! So cute. I took a few shots of a little boy there whose mom said she never got good shots of him (he’s very bubbly and moves a lot).
I got a few I thought were sweet.
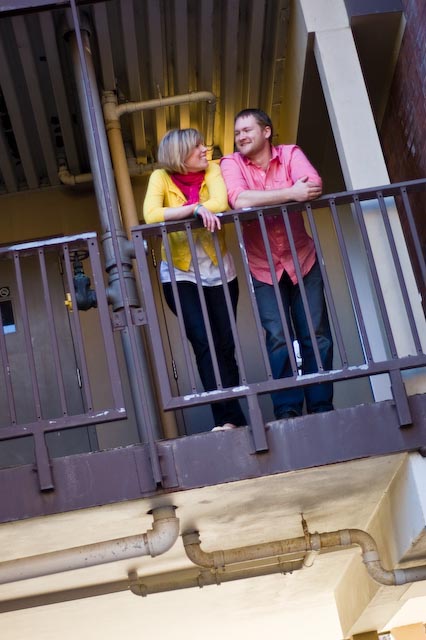
Speaking of pictures for others, I am bringing Kristen and Eric their engagement photos on a disc tonight when we meet up with them to hang out. I went back through the shot and had forgotten about two I set up, but Bj actually took of me:
I love this juicy jacket, hey I would wear it every day if I could.
I had just jumped out of the portico. I love how just jumping down fluffed up my hair. 🙂 I don’t dye my hair, but this time of year with out sun shinning it starts to seem so dull and flat. It’s all I can do to keep it natural. Next time the sun comes out (not looking likely any time soon, we are getting loads of rain), I plan on going outside no matter how cold. Or at least driving around with my sun roof open!
The big reveal
I have been keeping a secret. A bunch of people around here knew it, but Ceara didn’t, and I don’t think I’ve kept a secret from her for this long ever. Let me give you a little back story. Way back. It’s 2003. I’m in Corvallis, I’ve got crew going on, school and thus art projects galore, and I decide that I want to do something extra cool for Ceara’s Christmas present. Extra cool, and it turns out, way over my head. I get a library book and have Ceara go through it and tell me which quilts she likes. Then I don’t tell her which one I’m going to do, but end up picking this cool star quilt in the book. I set about getting the million different shades of blue I need for it, and start cutting and piecing. And at Christmas time, I get to show her this:
Not quite the finished product I was hoping for, but I still had a week or so left of break so I got to sewing. And I had this: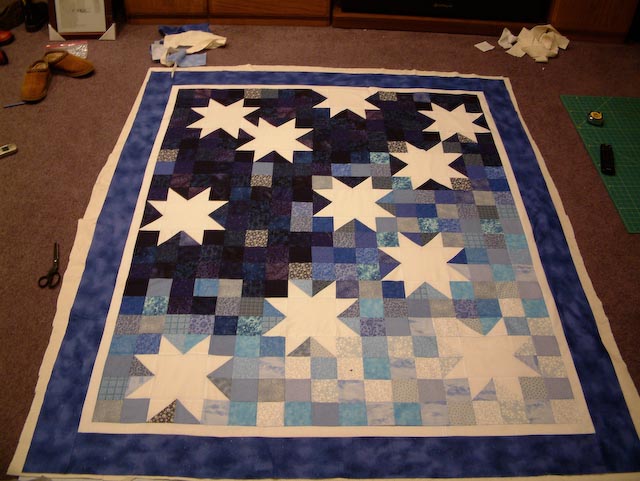
Now comes the problem. I had to actually quilt it. The book called for some insane swirls and waves, and the stars where sort of "in-lined" (like out-lined, but on the inside on the seam). I thought I should start with the stars. My mom had just gotten a cool new sewing machine, and the add-on of a table extension thing so that you can wrangle the quilt a little better. So I would roll up the quilt as tight as possible and then try to quilt the little bit I could shove under the machine. This did not work well. I could not get tension, the bobbin color kept popping up to the front. So I decided for the back I would use mono-filament thread (like really thin fishing line) and then I wouldn’t have those problems (this came back to haunt me). This is when I started having real problems. Things snagged, lines were wonky. It was bad. So I folded it up, and put it away. And brought it out every once and a while, looked at it and thought, hey I should work on that. I moved it three times, but no go on the finishing. I kept thinking, I should finish this for ____________ (Ceara’s graduation, move, wedding, anniversary, other Christmases). But I had it so messed up I was afraid to go back to it. Finally I decided that I needed to have it professionally quilted. I spent way too much time on the piecing to just let it go. So early December I finally brought it to someone. I had to pull out all the quilting I’d done (and that clear thread stuff was a bitch).
Then there was this other problem. I had copied the pages from the library book of the quilting, so I could remember how it went. But I couldn’t find it, and so I had to go to the library and look through EVERY quilt book there. When I still couldn’t find it I got one of the librarians to make me a spread sheet of every checked out quilt book, and went hunting to see what those were like online. I had about 83 of those to go through. I finally found it though, this is the book: Quick and Easy Scrap Quilts.
Then I waited two months.
Then I hand stitched on the binding for a week.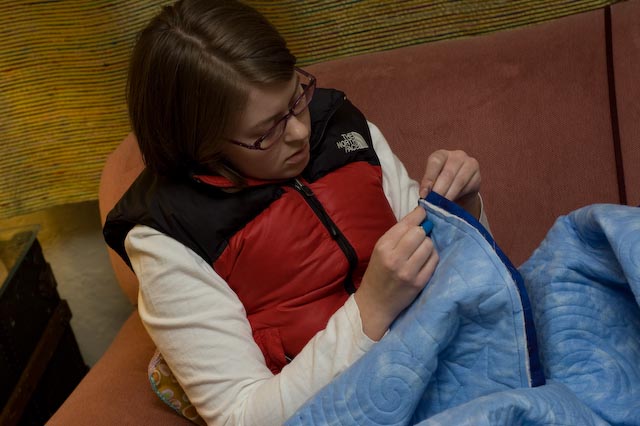
Then I sent it to Ceara. And yesterday she opened the package over iChat. I think that last time we talked about the quilt was a year ago, so ya, she was surprised.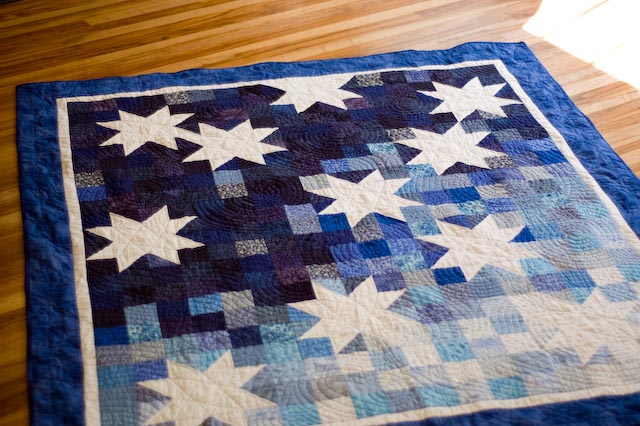
It turned out so awesome!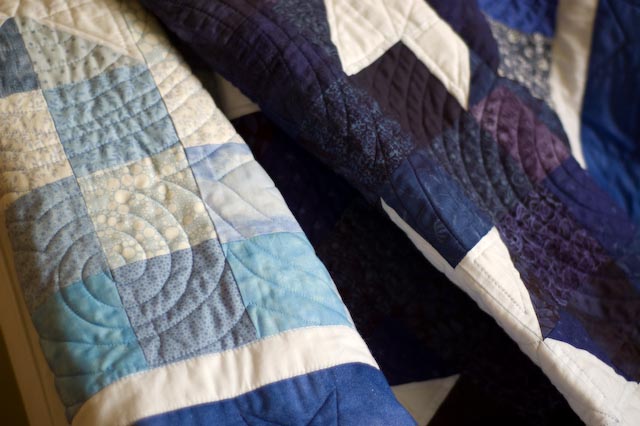
The amount of stitching can be seen in the back especially.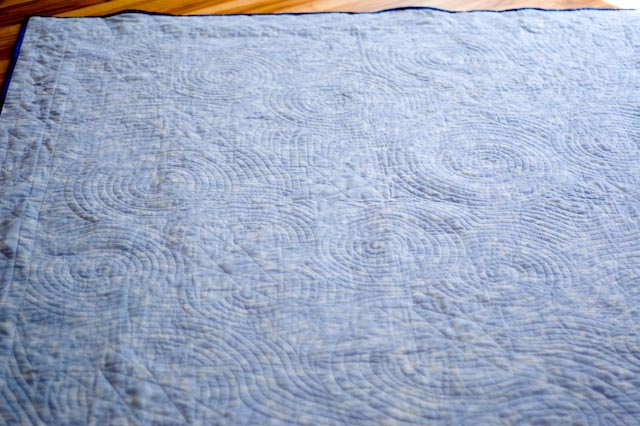
I am sold. I am having any crazy pattern like this professionally done from now on. 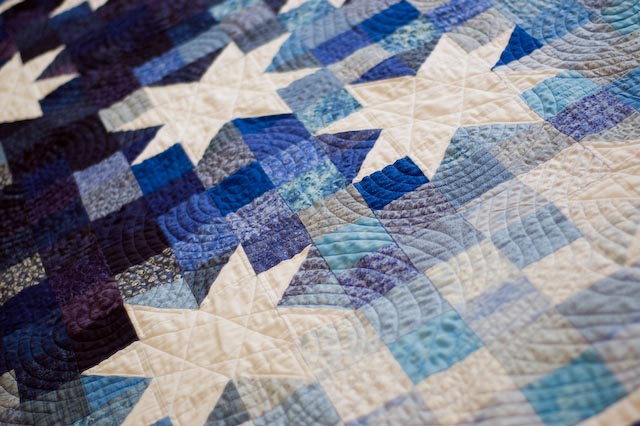
Happy Friday!
ISO… OMG
So I’m going through my millions of emails per day (hey I like to sign up for stuff) and I decided to click on the Creating Keepsakes one about taking pictures of a kid and a birthday cake. I noticed it said change your ISO and since going digital I had never done it. I know, I know, I just fell like way down off the pedestal of the last post (thanks for all the complements on my photos guys!). But I’m all self taught on the digital, and just never tried it out. I always shoot on manual though, does that redeem me a little? Anyway here is why you should care:
On ISO 200 (what my camera has been on since day one I think). The lower the ISO the less light comes in, but the less noise you get also (see I do know what it is after all). We always shot with ISO 100 in photography class (ah TMax).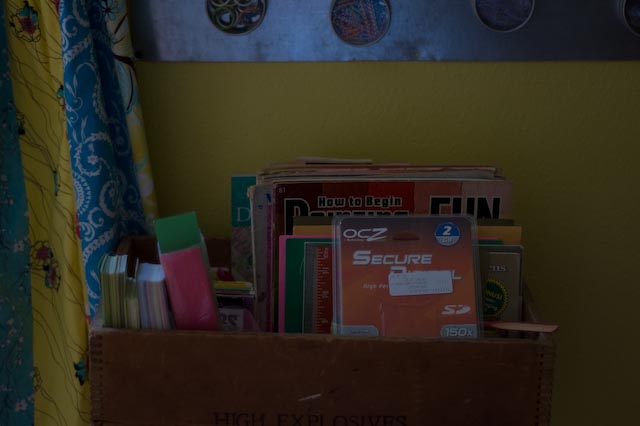
On ISO 400. Boring shot, I know, but I wanted something kind of darkly lit. Oh that and I just turned my butt on the stool and pointed to the nearest thing.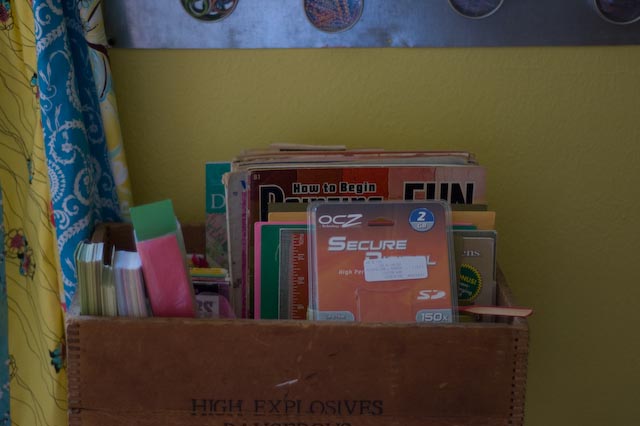
On ISO 800. By now I’m like, OH MY GOD.
On ISO 1600, the highest my camera will go. Now yes, there is some noise, but COME ON PEOPLE, this is FREAKING AWESOME!!!!
So embarrassing for me, but listen, I did it to help you out. Go get your camera, see if you can change this setting. Change nothing else, but that setting and snap some pictures in an area where light won’t change in the one minuet this test takes. You’ll thank me. Oh what, you all knew that already? Okay then, get on with your business.
And the winners are…
Wow you guys, thanks for all the love! I cut up the comments and had Bj draw so I could remain impartial 🙂
The winners are:
Jen Gough
Nicole
Sarah
Congrats guys, I’m off to email you all now and get your addresses so check your junk mail folders.
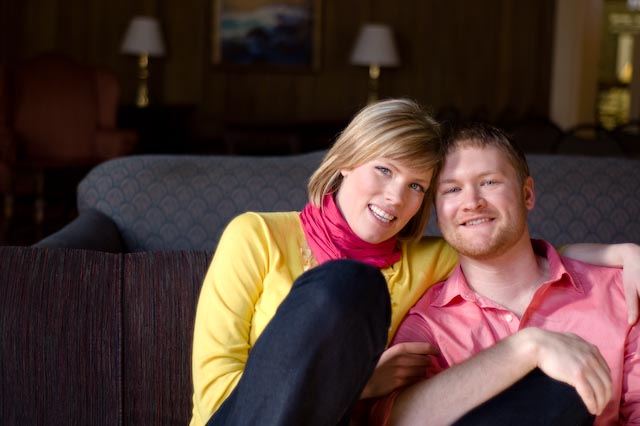
I spent this weekend being very happy indeed. I got to be with two of my dear friends to celebrate their engagement and take some shots of them. I was oh so nervous to take these photos as I usually shoot kids, and hadn’t done a formal shoot like this. But Kristen and Eric were super fun and relaxed. And of course very good dressers which always helps. Here are some of my favorites from the shoot (which yielded almost three hundred, of which 50 I love, love, love)!
We started off walking around downtown Corvallis (we all went to school there).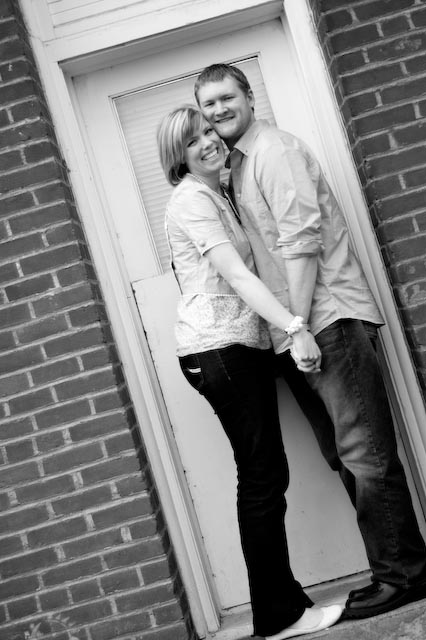
Awe come on, I had to do a couple of my tilts!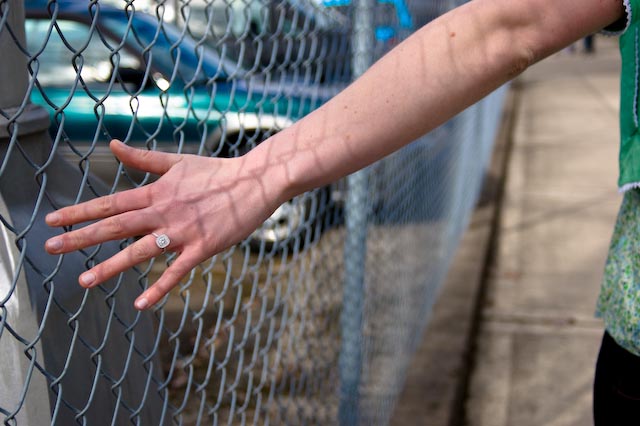
Her ring is awesome, good job Eric!!!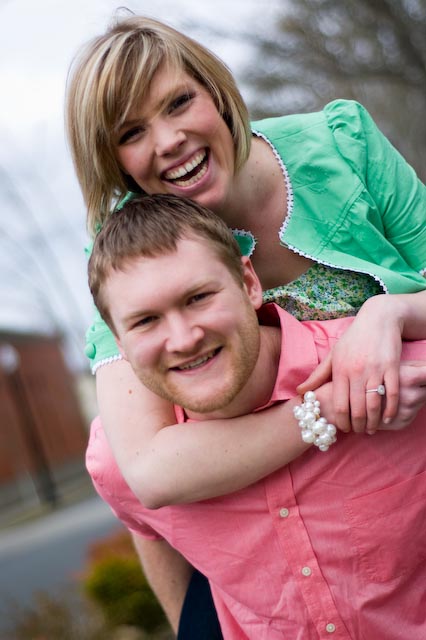
My favorite?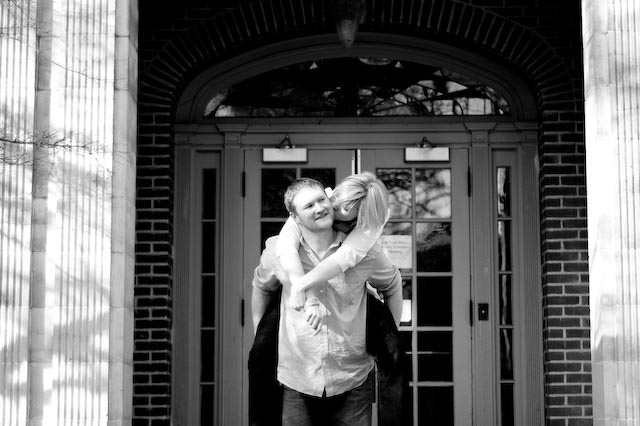
Then we headed to campus (where we saw Angela, who was also shooting an engagement, how random!)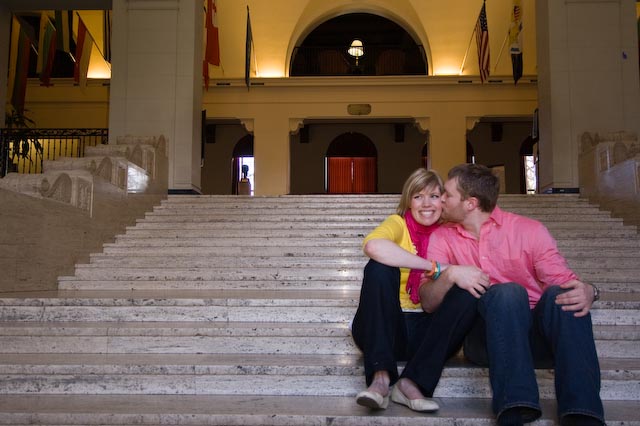
Inside the MU, I had them moved the signage (why is this not coming up as a word?) that is usually up on the steps, and I like how clean this shot turned out.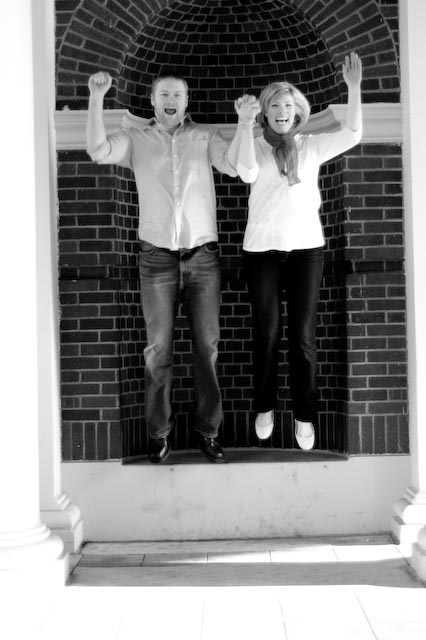
Erin do you see this? I went to our nook, remember being all stupid and pretending to be statues there? I took some more of me, will show later.
(oops hit save before I was done posting, now the spaces are going to be all whack).
They had to get someone to let them into the dorms to get this shot, and then walk through a hallway. I stayed outside, but was told that it smelled just the same. 🙂
In the MU again. It was set up for some kind of talk.
Reading the "police beat" from our campus newspaper… "__________ was arrested Wednesday for stealing a figurine from the bookstore, valued at $3.98." Idiot.
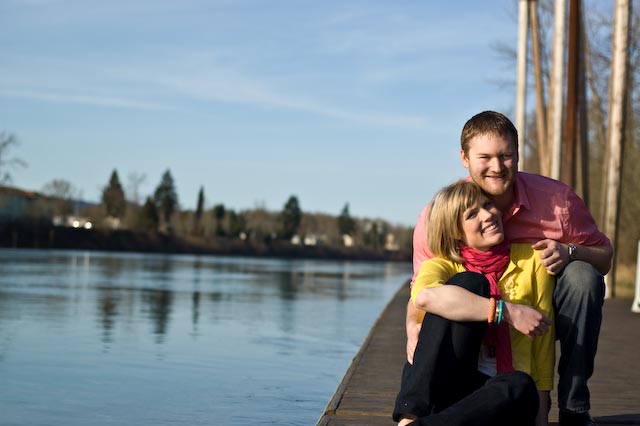
Down to the docks. We took a team photo here once and the photographer was on a boat on the river. When we all started to come down on to the same part of the dock together it sunk it lower than it normally goes and spiders started coming up all of the cracks. So Reid was only down for a minimal amount of time as she said it still haunts her. It was pretty creepy.
Seven years together you guys, oh my gosh!!! That is so awesome. I love these guys and I can’t wait to go to there wedding! I’m sure it will be as fabulous as they are.
The reason I decided to do the shoot down there on Saturday was actually because we had a past, present, future alumni event at Reeser Stadium (which is huge now). I got to see so many wonderful people, some of my favorite in the whole world, including my old coaches. My novice coach Jane, especially holds a special place in my heart, and she moved on to head coaching up in Washington my third year on the team, so any time I get to see her it’s great fun. Lots of stories to tell, laughs to share. Not only did we honor our old head coach, Charlie, with a boat dedicated in his honor, but we also kicked off fund raising for a sorely needed boathouse project. It’s sort of a joke with all of us that went there, about how bad the locker rooms are and everything, but it makes it so hard to get good recruits. I think this is a great step, and shows how the university is supporting the crew teams now. Here is a newspaper article from the night.
Hmm what to say about Sunday. We overslept, I can never get used to time change, and Bj’s mom came to visit. And despite everything else I had to do I could not resist going through these happy photos. Then this morning neither of us set alarms and we didn’t get up until 10:30. Let’s hope for better starts tomorrow!
Three Years of all of this.
Today is my three year blog anniversary. So weird to think that three years ago I wrote this and put my pigtails out in the world. I don’t even really remember what started me on it. I have always journaled and kept track of my life, I think this really seemed like a great way to do that. The thing I never expected was how much happiness it would bring me. I’m sure I waste buckets of time reading other blogs and working on my own, but I love it. I love to see all the ideas out here. I love to contribute. I love to get comments, and hear from people who are reading. I love that it has made me take so many more pictures (the death of my film camera was this blog).
One thing I’ve heard is that you should have a focus on your blog. That readers will enjoy a more consise story. One just about crafting, or just about renovation, or relationships, etc. At first glance I think my blog sort of lacks that main thing that I talk about. I tend to go all over with what is happening in my life. This will be my 671st post, and I think I have like 72 topics, at least! But I hope what the people who have visited my blog (right now: 179,584 views) come away with is happiness. I try to find the good in everything, and everyone. I don’t always succeed, and I’ve had my share of rough patches these last three years, but for the most part that’s what I put out: the good. And that’s what I want to get back. And I do, over and over (3,109 comments so far). I feel so lucky to be able to live the life I’m living. And I always want to be like this, opptimisitic. So I put together a little project.

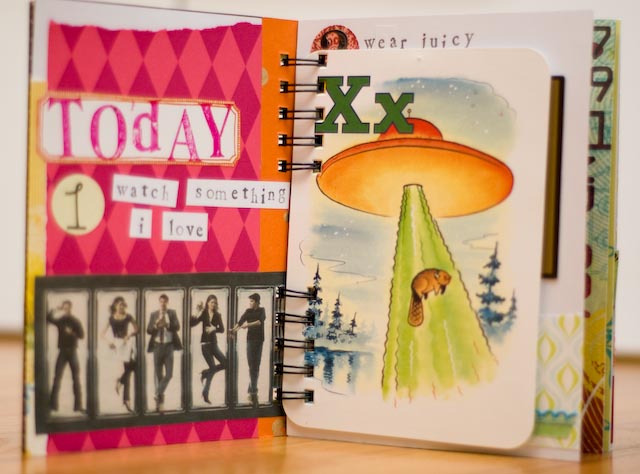
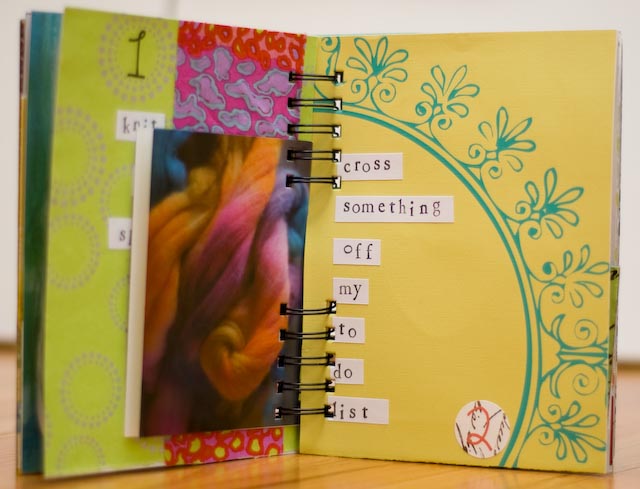
This is going to be my go to guide for day to day happiness. When I need a pick me up I can grab this book and do something that will make me happy. Here’s my sort of mission statement for the project: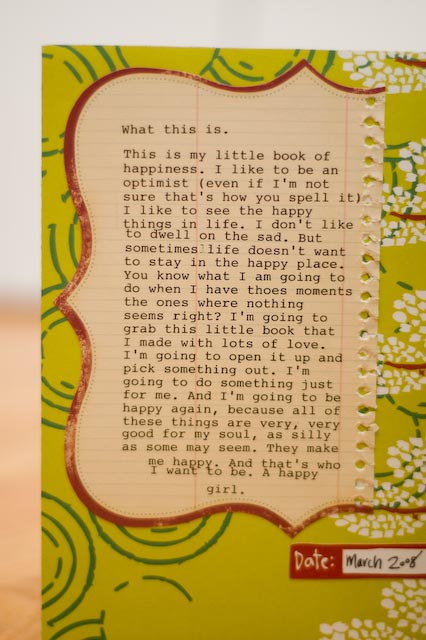
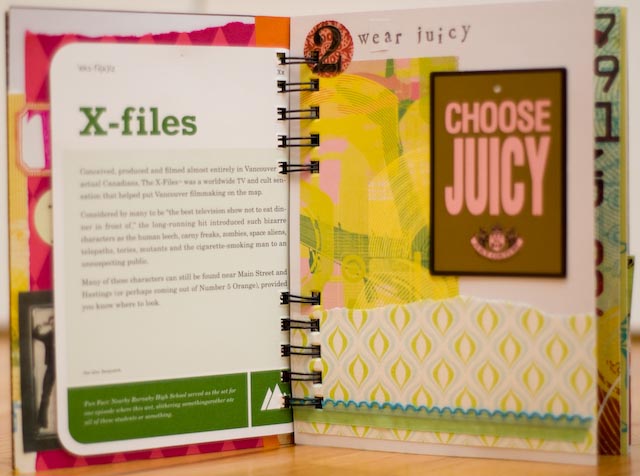
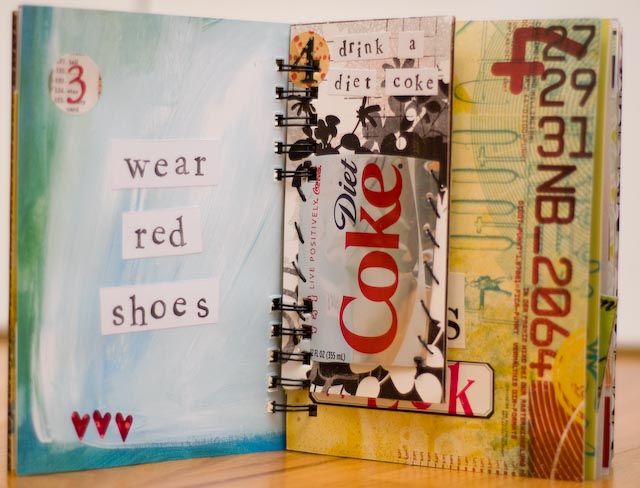
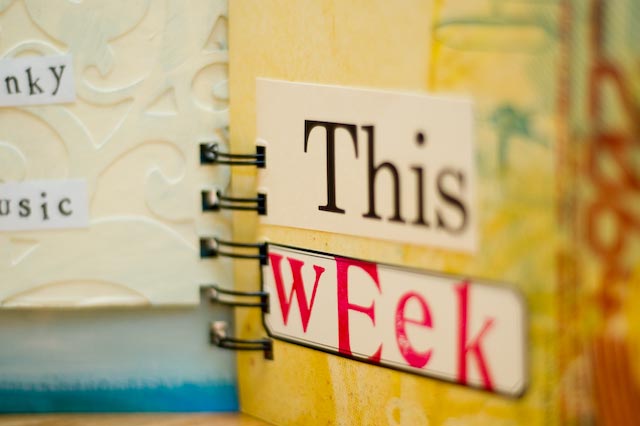
Lately some people very important in my life have been unhappy. And there is always something to make you like that: physical pain, emotional stress, job worries, relationship problems. But I really think it’s best not to dwell on all the negatives. Or at least step away for a moment. You don’t have to make a book like this but I encourage everyone to make a list of five things. Five things that will make you happy TODAY, five things that will make you happy this week, this month, this year. The last category is five things that when you are old and gray will make you happy knowing you did them; lifetime happiness goals. Here’s what I came up with.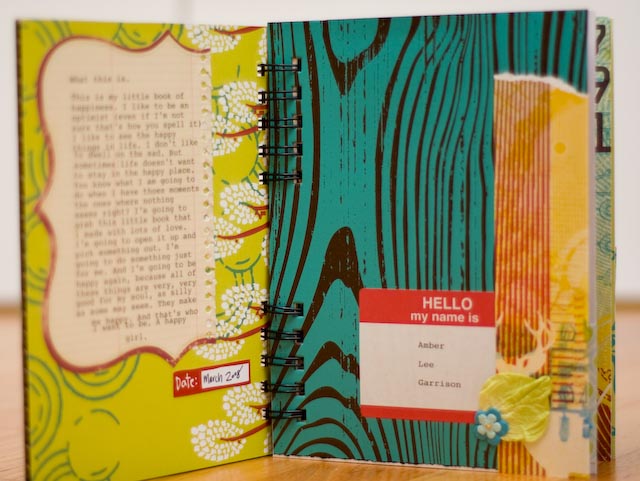

So there you have it. A few of my happy things. As I started working on it I realized just how many things make me happy (lots!) so I cruised past five. And some of them might seem silly to you, but that’s okay because your happiness list should be about what makes YOU happy, not anyone else. I only had a few guidelines for myself. I didn’t want any of the things relying on other people. I didn’t want to put anything regarding food (um, but did cave on the diet coke, mmmm). I tried to balance out the going/buying/making things so that it wasn’t all about stuff. I LOVED this project. It’s still a work in progress. I really need to think about what is going to make my life happy in the long run, but it is fun to include both those things and the instant satisfaction of say, wearing juicy joggins all day!
So in honor of my three years blogging I thought it would be fun to give away three kits for this project. I will put together a set with cover, spiral, Berry Patch punch (if you don’t have one, snag one up as they are going out of business), ribbons, paper and doo-dads. It won’t be exactly like mine, but should be fun. And hey getting mail is happy! If you would like to be included in this little bit of fun simply comment on this post by Monday, March 10th at noon Pacific Time. I’ll print out all the comments and pull three out. I’m still waiting on a few of the supplies for the kits so they won’t ship out right away. Good luck! Love you all!
Try this today!
Yesterday Brenda received a little package of goodies I sent her when we did a small swap with each other. She posted about it over on her blog and made a point of mentioning the envelop I put a little note in. When I was cleaning up the craft studio I decided to get rid of a few littler drawer units and things that were holding my post card/stationary stash. These all got filed away in one of the big drawers of my dresser in here. I pulled out one of a stack of envelopes that I had made a while ago to send to Brenda, one of these:
These are the original templates I’ve been using for ten years. The arrows help show you what the finished envelope will look like, and the direction it will go. 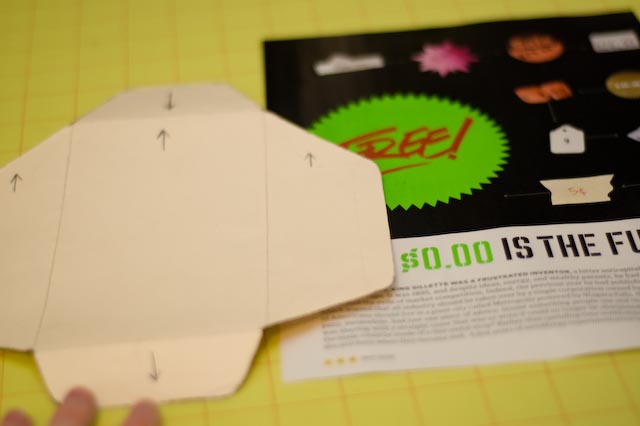
Choose a template and a page out of a magazine (the thicker the better, and mags like Martha Stewart that are extra wide and tall work even better for some shapes). Lay the template down adjusting so that the main image is on the front.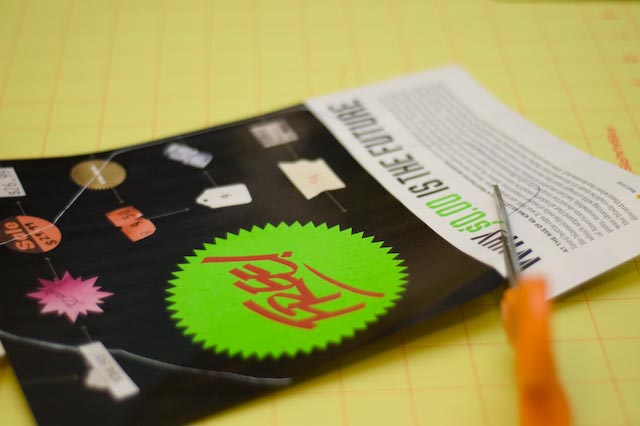
Cut it out.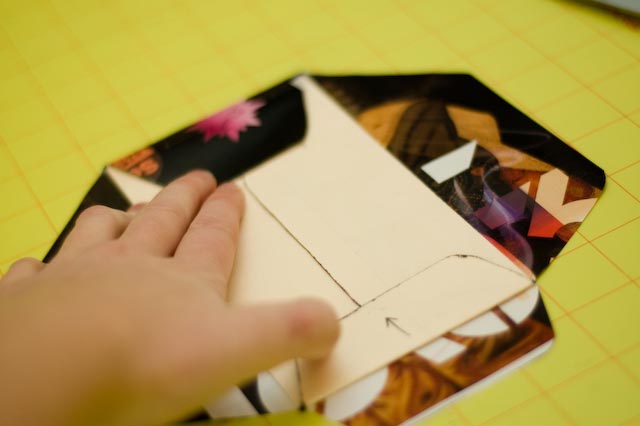
Place the folded up template in the middle of the envelope and then press the edges around it so you will have folds to follow when you remove it.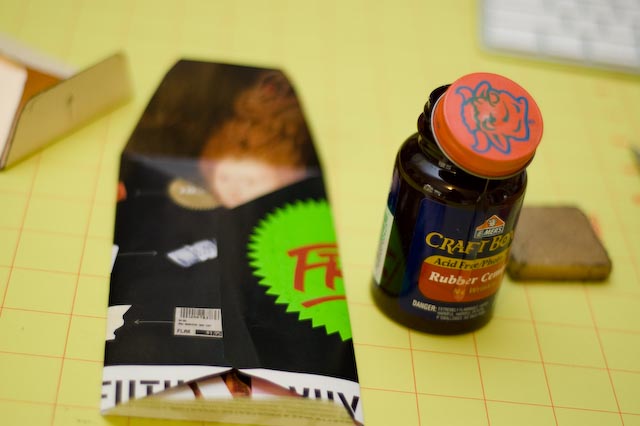
Get out the rubber cement baby. The only way to go for this project. Either paste it on and hold the pieces together, or (my method of choice) paint each side that is going to be attached and then when they are dry stick them together. It sounds wrong, but works great. See that little thing in the back? It’s a rubber cement eraser, it works like a dream after everything is dry to clean up around the edges.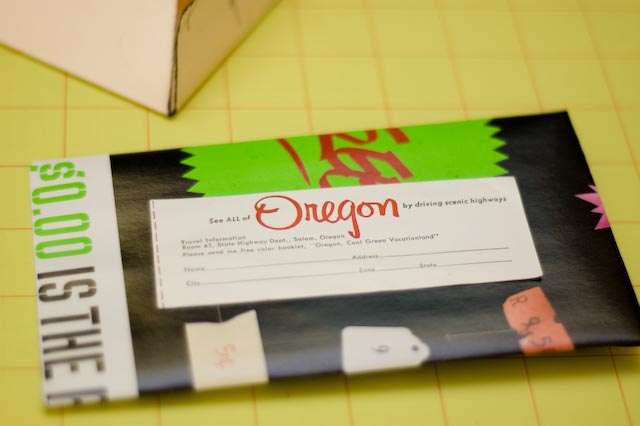
Attach a fun label like this (an old issue of national geographic will yield dozens) or an Avery label, piece of cardstock, anything that will give you space to write. Note on this type of envelope: if you do decided to have the address run so that the width is shorter than the height you are subject to a small surcharge (at least in the USA). Check USPS.com for details.
There you have it. A practically free project, and hey, you might even be able to sneak this project at work. 🙂
